Sharing notes from my ongoing learning journey — what I build, break and understand along the way.
Setting up an Enterprise Root CA in Active Directory Lab
Building an Enterprise Root Certificate Authority with AD CS
In this lab, I installed Active Directory Certificate Services on Server2 in my GFNLAB.Test domain environment and configured it as an Enterprise Root Certification Authority.
I had already prepared the domain controller and the Windows 11 client in the previous parts of the lab. In this part, I focused on setting up the CA, verifying that the root certificate was distributed to the client, requesting a user certificate, and then adding the Web Enrollment and Online Responder role services.
For the Online Responder part, I only installed the role service and confirmed that the management console was available. I will continue with the full OCSP configuration in a separate post, because that requires additional steps such as the OCSP Response Signing template, OCSP signing certificate, revocation configuration, and CA extension settings.
Lab environment
The environment I used for this lab looked like this:
Domain: GFNLAB.Test
Domain Controller: DC
Certificate Authority Server: Server2
Client: Windows 11
Test User: Frieda Fleissig
I installed the CA role on Server2. The DC server continued to run as the domain controller, and the Windows 11 client was already joined to the domain.
Installing the AD CS role
First, I opened Server Manager on Server2 and started the Add Roles and Features wizard.
On the server roles page, I selected Active Directory Certificate Services. After the role installation finished, I used the yellow notification flag in Server Manager to start the AD CS configuration wizard.
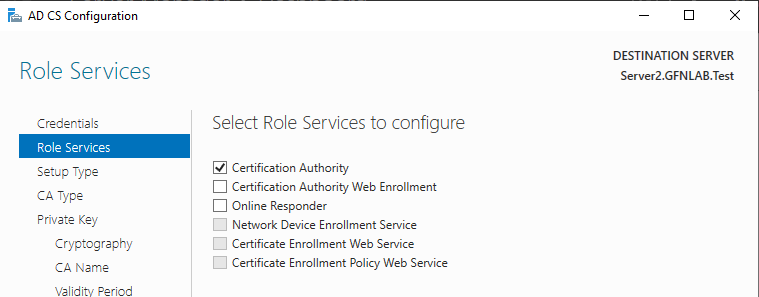
During the first configuration step, I selected only the Certification Authority role service. I did not select Web Enrollment or Online Responder at this stage, because I wanted to configure those separately later.
Configuring Server2 as an Enterprise CA
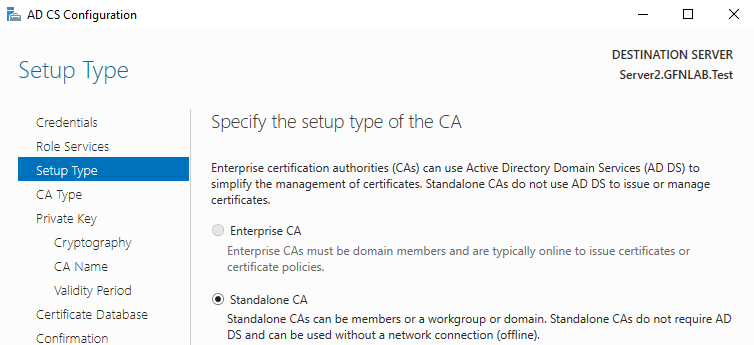
In the AD CS configuration wizard, the first important choice was the Setup Type page. Here, I selected Enterprise CA.
This allows the CA to integrate with Active Directory. Because of that, the root CA certificate can be published in the domain and automatically trusted by domain-joined clients.
On the next page, I selected Root CA as the CA type.
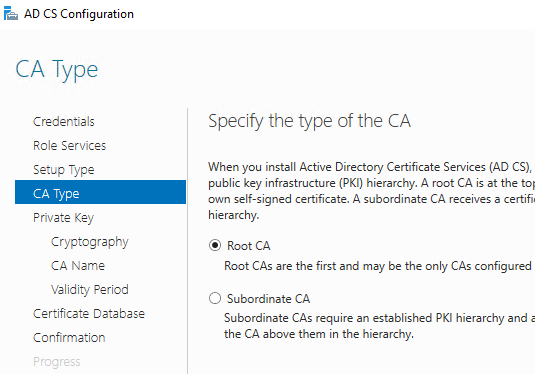
I did not use a subordinate CA in this lab. Server2 was configured directly as the Enterprise Root CA for the domain.
Creating a new private key
On the Private Key page, I selected Create a new private key.
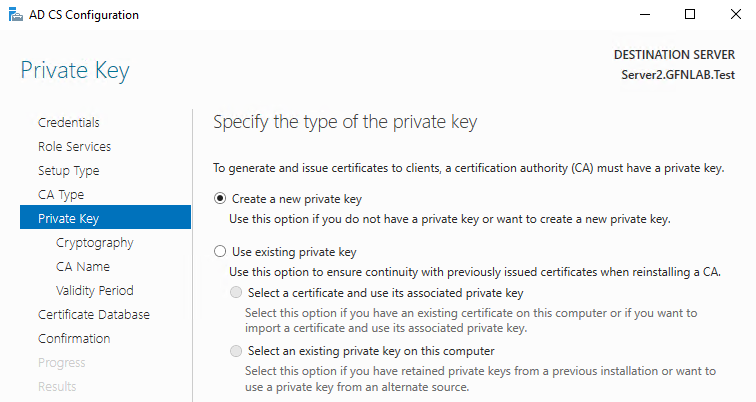
I kept the default settings on the Cryptography page. For this lab, the default provider, key length, and hash algorithm were enough.
Naming the CA
On the CA Name page, I set the CA name to:
gfnlab-ROOT-CAThe wizard initially suggested a different name, but I changed it to make the lab easier to follow and keep the naming consistent.
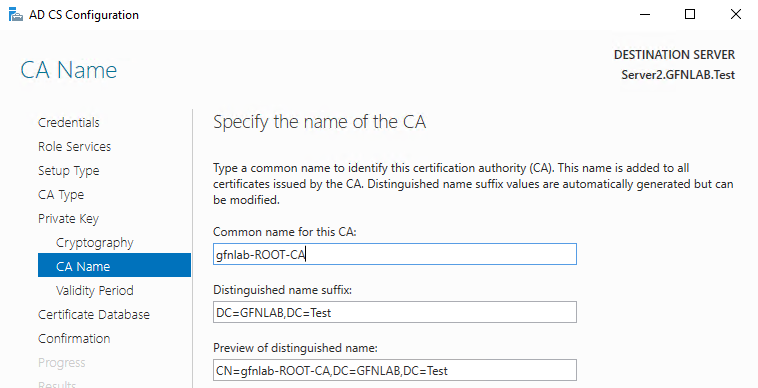
This name appears later in the Certification Authority console, in the client certificate store, and under the Public Key Services container in Active Directory.
Reviewing and applying the CA configuration
Before applying the configuration, I reviewed the summary page.
The summary showed the following settings:
Role service: Certification Authority
Setup type: Enterprise CA
CA type: Root CA
Private key: New private key
CA name: gfnlab-ROOT-CA
Target server: Server2.GFNLAB.Test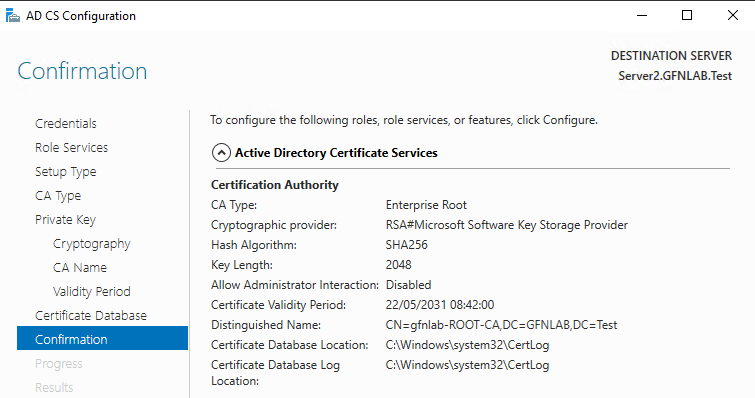
Then I clicked Configure and waited for the configuration to finish. The process completed successfully.
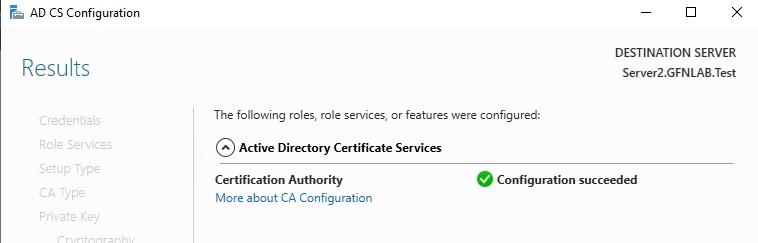
At this point, the Enterprise Root CA was installed on Server2.
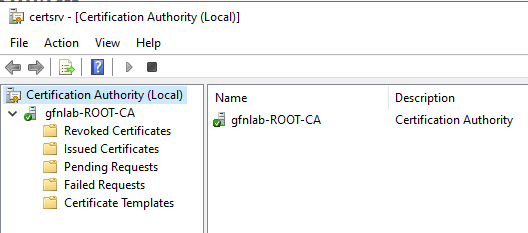
Verifying the CA console
After the installation, I opened the Certification Authority console from Server Manager:
Server Manager → Tools → Certification AuthorityOn the left side, I could see the CA name:
gfnlab-ROOT-CAThis was my first confirmation that the CA had been created successfully and was manageable from the CA console.
Checking the root certificate on the Windows 11 client
Next, I checked whether the root CA certificate had been added to the trusted root store on the Windows 11 client.
On W11, I opened MMC and added the Certificates snap-in for the Computer account.
Then I went to:
Certificates (Local Computer)
→ Trusted Root Certification Authorities
→ Certificates
At first, I did not see gfnlab-ROOT-CA in the list. So I refreshed Group Policy on the client:
gpupdate /forceAfter refreshing the MMC view, the gfnlab-ROOT-CA certificate appeared under the Trusted Root Certification Authorities store.
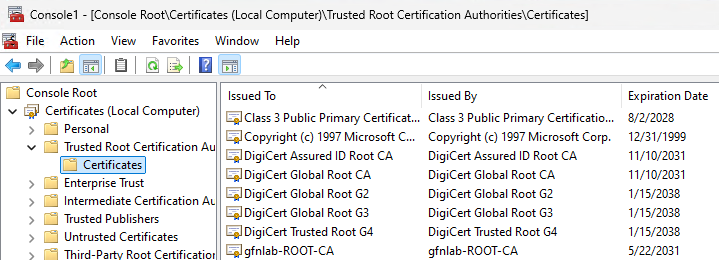
This was an important check, because it confirmed that the domain client now trusted the Enterprise Root CA.
Verifying the CA certificate in Active Directory
To confirm that the root CA certificate was published in Active Directory, I used ADSI Edit on the domain controller.
In ADSI Edit, I connected to the Configuration naming context and opened the following path:
CN=Configuration,DC=GFNLAB,DC=Test
→ CN=Services
→ CN=Public Key Services
→ CN=Certification Authorities
Inside this container, I found the gfnlab-ROOT-CA object.
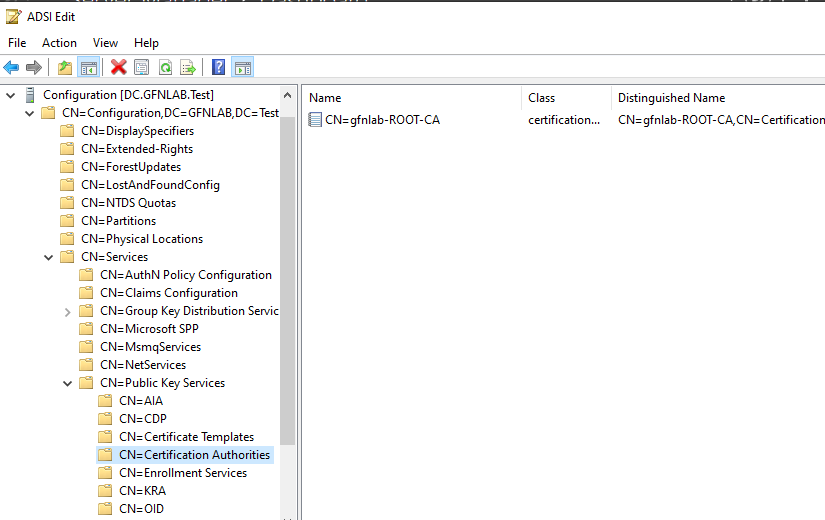
This shows where the Enterprise CA publishes its root certificate in Active Directory. This is also part of how domain clients can receive and trust the root CA certificate automatically.
Exporting the root CA certificate
Next, I exported the root CA certificate as a file.
On Server2, I opened the Certification Authority console and used this path:
gfnlab-ROOT-CA
→ Properties
→ General
→ View Certificate
→ Details
→ Copy to File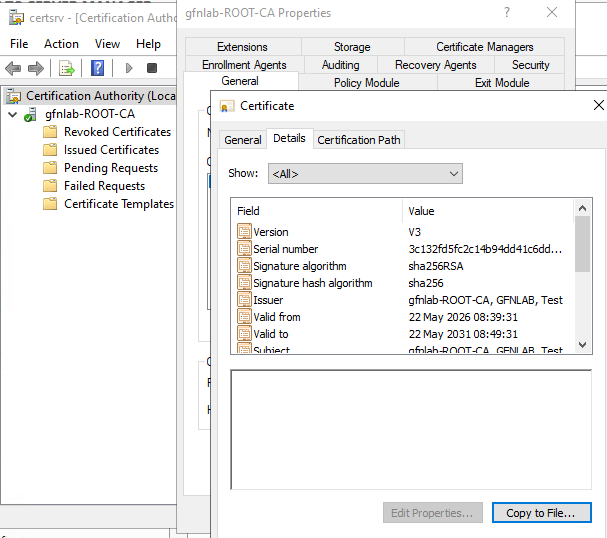
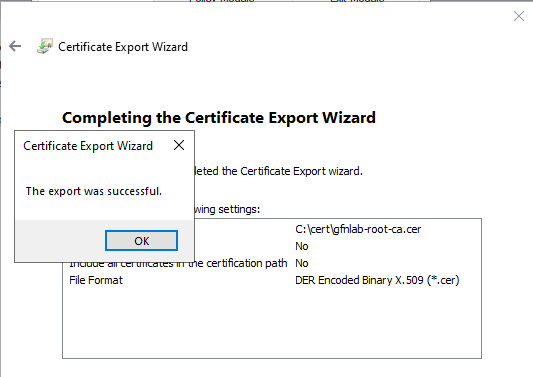
For the export format, I selected:
DER encoded binary X.509 (.CER)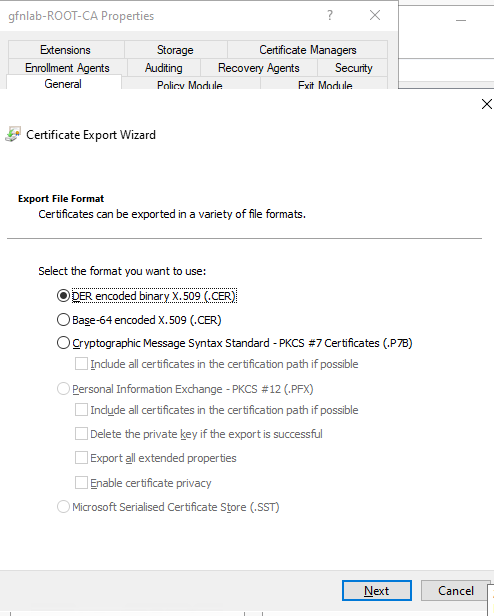
I saved the certificate to:
C:\cert\gfnlab-root-ca.cerThe export completed successfully.
Copying the root certificate to W11
I also copied the exported certificate to the Windows 11 client.
On W11, I used PowerShell:
$source = "\\Server2\c$\cert"
$destination = "C:\cert\"

Copy-Item -Path $source -Destination $destination -Recurse

Get-ChildItem -Path "C:\cert\" -Depth 1
The output showed that gfnlab-root-ca.cer was available under C:\cert on the Windows 11 client.
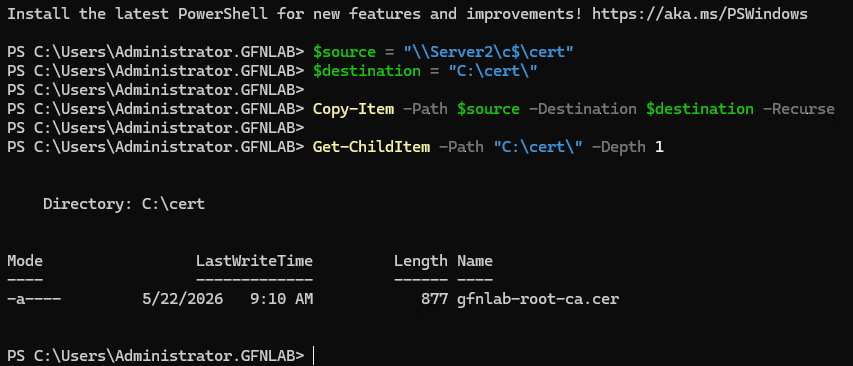
In my environment, the root certificate had already been distributed through the domain and appeared in the Trusted Root store. Still, copying the exported certificate to the client was useful to confirm that the file was available locally if I needed it later.
Requesting a user certificate for Frieda Fleissig
In this step, I requested a User certificate for a domain user.
I used Frieda Fleissig as the test user. On the Windows 11 client, I logged in as Frieda and refreshed Group Policy first:
gpupdate /forceThis can also be done through MMC, but in this lab I used PowerShell.
In Frieda’s session, I ran:
Get-Certificate -Template User -CertStoreLocation Cert:\CurrentUser\MyOn the first attempt, I got an error related to the certificate template. After checking that the User template was published on the CA, I ran the command again and the certificate was issued successfully.
The output showed:
Status: Issued
After that, I checked whether the certificate was actually present in Frieda’s personal certificate store:
Get-ChildItem Cert:\CurrentUser\My | Select-Object Subject, Issuer, NotAfterThe issuer showed gfnlab-ROOT-CA.

This confirmed that a domain user could request and receive a User certificate from the Enterprise CA.
Configuring CA Web Enrollment
Next, I configured the Certification Authority Web Enrollment role service.
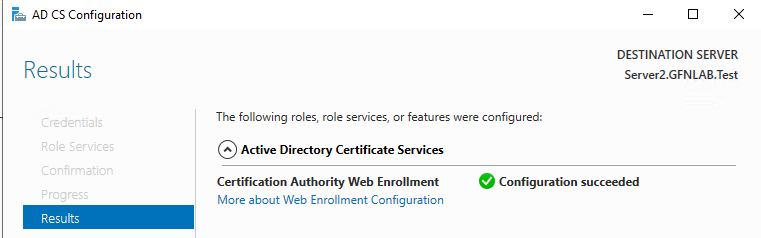
I opened the AD CS configuration wizard again from Server Manager. Since the Certification Authority role service had already been configured, it appeared as already selected or greyed out. This time, I added Certification Authority Web Enrollment.
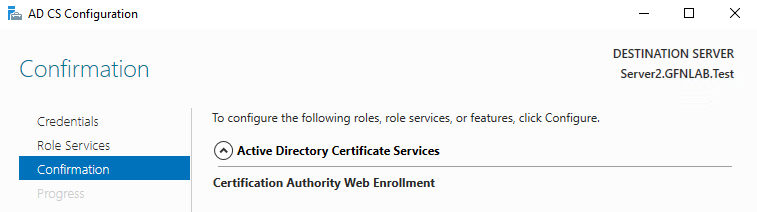
The configuration completed successfully.
Testing the Web Enrollment page
On the Windows 11 client, I opened Microsoft Edge and went to:
http://Server2/certsrvThe Web Enrollment page loaded successfully.
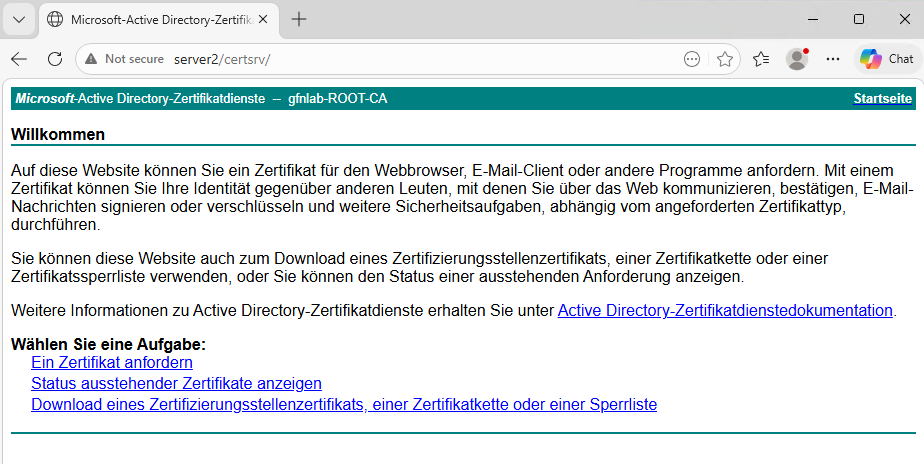
Some parts of my lab environment still displayed German text, so the Web Enrollment page also appeared in German. That was not a problem. The important part was that the site was reachable.
Some of the German options on the page matched the English options like this:
Ein Zertifikat anfordern
= Request a certificate

Download eines Zertifizierungsstellenzertifikats, einer Zertifikatkette oder einer Sperrliste
= Download a CA certificate, certificate chain, or CRL
I also checked the certificate request page in Web Enrollment.
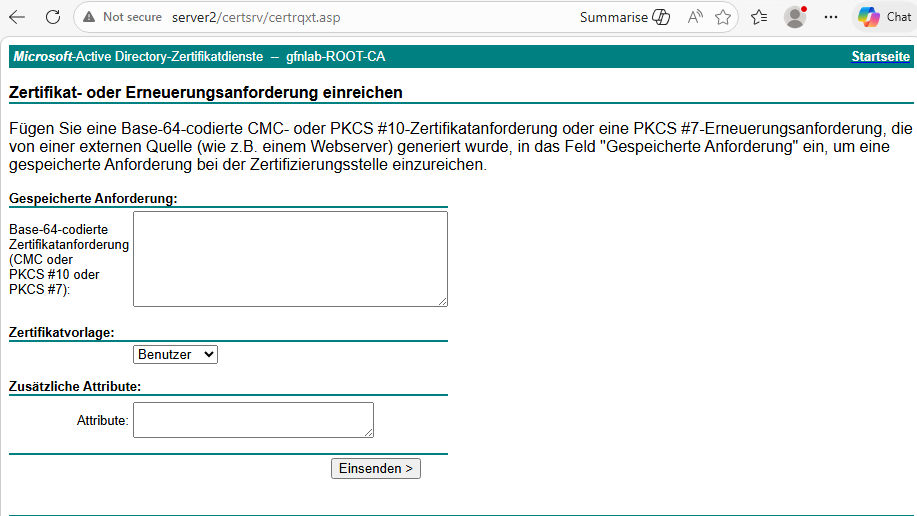
At this point, it is worth noting that Web Enrollment is an old component. In modern environments, some certificate request scenarios may be limited or may not work as expected. For this post, I only used it to confirm that the Web Enrollment site was reachable and that the CA download page was available.
Then I opened the page for downloading the CA certificate, certificate chain, or CRL.
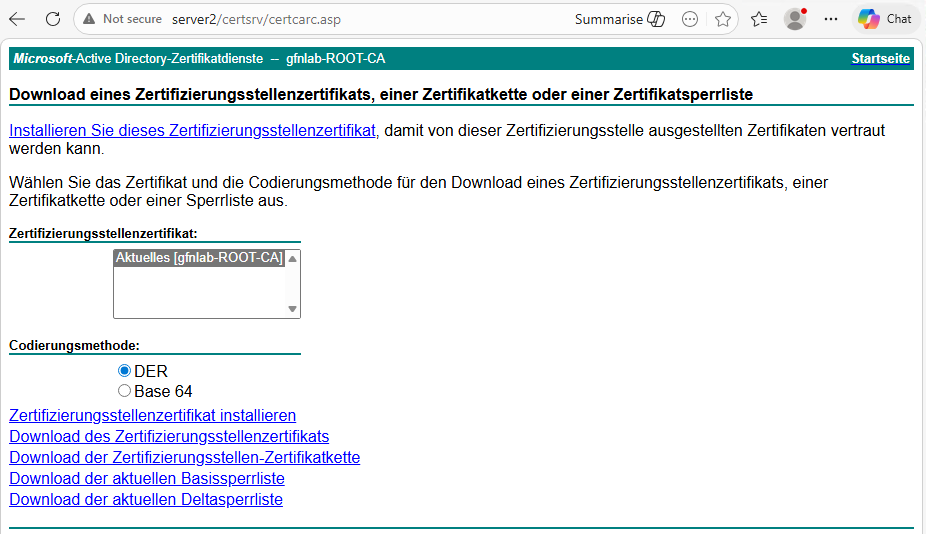
On this page, the CA name appeared as gfnlab-ROOT-CA, and the download options for the CA certificate, certificate chain, and CRL were available.
Configuring the Online Responder role service
Finally, I configured the Online Responder role service.
Online Responder is part of an OCSP setup. It allows clients to check certificate revocation status through OCSP instead of downloading CRLs. However, installing the Online Responder role service does not mean that OCSP is fully working yet.
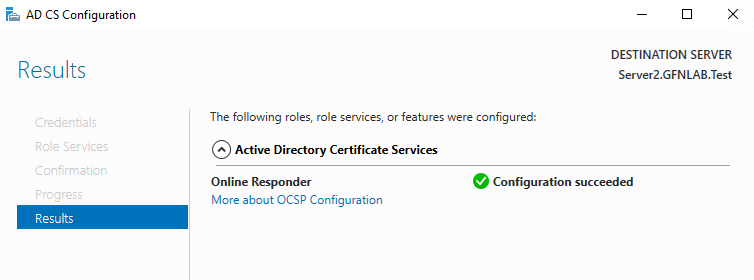
I opened the AD CS configuration wizard again from Server Manager and selected Online Responder.
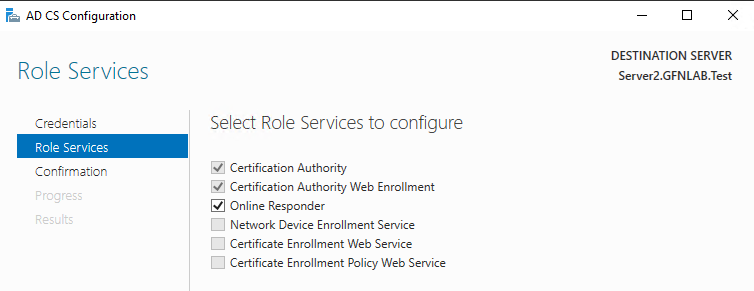
The configuration completed successfully.
After that, I opened the Online Responder Management console:
Server Manager → Tools → Online Responder ManagementThe console opened successfully.
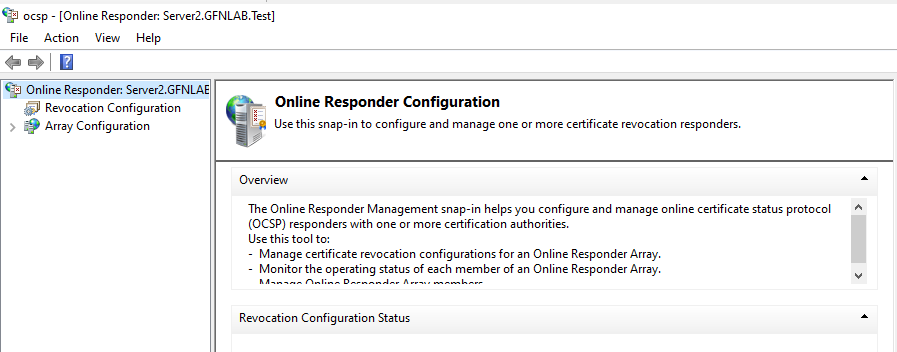
In this post, I only installed the Online Responder role service and confirmed that the management console was available. A complete OCSP configuration still requires additional steps.
What is not configured yet?
At this point, the Online Responder role service is installed, but OCSP is not fully configured yet.
For a complete OCSP setup, I still need to configure the following:
- Configure the OCSP Response Signing template
- Grant the Server2 computer account Enroll permission on that template
- Publish the template on the CA
- Request an OCSP Response Signing certificate for Server2
- Create a Revocation Configuration in Online Responder Management
- Publish the OCSP URL in the CA Extensions
- Test OCSP validation from the client side
So I am not claiming that OCSP is fully operational yet. In this part, I only prepared the Online Responder role service and verified that the console was available.
Conclusion
In this lab, I installed Active Directory Certificate Services on Server2 and configured it as an Enterprise Root CA.
I completed the following steps:
- Installed the AD CS role
- Configured Server2 as an Enterprise Root CA
- Named the CA gfnlab-ROOT-CA
- Verified the CA in the Certification Authority console
- Confirmed that the root certificate appeared in the Trusted Root store on W11
- Verified the CA certificate publication in Active Directory with ADSI Edit
- Exported the root CA certificate
- Copied the exported certificate to the W11 client
- Requested a User certificate for Frieda Fleissig
- Confirmed that the certificate appeared in the Current User personal store
- Configured the CA Web Enrollment role service
- Tested access to the Web Enrollment page
- Installed the Online Responder role service
- Opened the Online Responder Management console
At this point, the Enterprise Root CA is working, and user certificate enrollment has been tested successfully.
In the next post, I will continue with the Online Responder configuration and complete the OCSP side of the lab. That will include the OCSP Response Signing template, OCSP signing certificate, Revocation Configuration, and CA Extensions settings.